O-raises Feet On Ground Tutorial
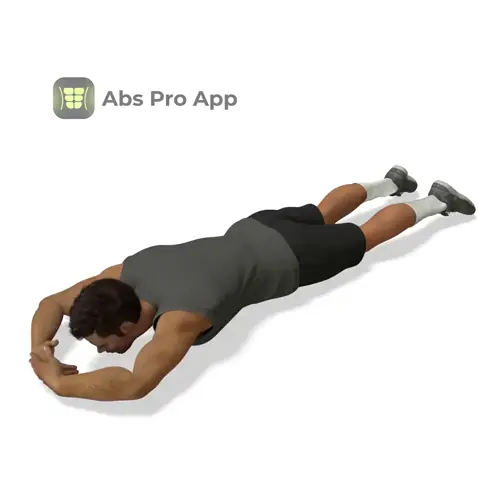
O-raises with feet on the ground are a controlled core exercise where you lie on your back, circle your arms overhead to form an O shape, and lift your upper body. This movement targets the abdominal muscles while also improving coordination between your arms and core.
It is a beginner-friendly abs exercise that teaches proper crunch technique without stressing the lower back. Focus on slow control, smooth arm movement, and lifting with your abs instead of pulling your neck.
Benefits
- Builds basic abdominal strength
- Improves crunch technique and control
- Teaches arm and core coordination
- Low impact and spine-friendly
- Easy to learn for beginners
- Requires no equipment
- Helps prepare for harder core exercises
Setup & Starting Position
Start by lying flat on your back on a mat or comfortable floor. Bend your knees and place your feet flat on the ground, about hip-width apart. Your heels should stay planted throughout the exercise.
Extend your arms up and slightly back, then circle them overhead so your hands form an O shape above your face or chest. Keep your elbows softly bent and relaxed, not locked.
Let your head rest naturally on the floor with your chin slightly tucked. Your lower back should be in a neutral position, lightly touching the ground. Before starting the first rep, gently tighten your abs as if preparing to cough.
Quick setup tip: Think about pressing your ribs down toward the floor before you lift, this helps engage your core correctly.
How To Do O-raises feet on ground (Step-by-step)
- Lie on your back with knees bent and feet flat on the floor
- Circle your arms overhead to create an O shape
- Brace your abs gently without holding your breath
- Lift your head, shoulders, and upper back off the floor
- Keep arms moving smoothly overhead as you lift
- Pause briefly at the top with abs tight
- Lower your upper body slowly back to the floor
- Keep feet planted and core engaged the whole time
- Reset and repeat for the next rep
Form Cues
- Lift with your abs, not your neck
- Feet stay flat on the floor
- Arms move smoothly in a circle
- Exhale as you lift
- Lower with control
- Keep chin slightly tucked
Breathing & Bracing
Proper breathing makes O-raises more effective and protects your spine. Before each rep, take a gentle breath in through your nose to prepare.
As you lift your upper body, exhale slowly through your mouth while tightening your abs. Imagine pulling your belly button slightly toward your spine. This helps create core tension without flattening your breath.
At the top of the movement, keep breathing relaxed, not forced. As you lower back down, inhale again in a controlled way. The goal is to match your breathing with your movement.
A simple rhythm to follow is inhale at the bottom, exhale as you lift, inhale as you return down. Avoid holding your breath, and keep your ribs from flaring upward during the lift.
Common Mistakes
- Pulling the neck forward, fix by keeping hands away from the head
- Lifting too high, fix by stopping when shoulders leave the floor
- Feet lifting off the ground, fix by pressing heels down
- Moving arms too fast, fix by slowing the arm circle
- Holding breath, fix by exhaling during the lift
- Lower back arching, fix by bracing abs before lifting
How It Should Feel
Quick Self-Check:
Good signs: You feel a controlled burn in the front of your abs, your neck stays relaxed, and you can move smoothly without jerking. Your lower back feels supported, not strained.
Warning signs: Sharp pain in the neck or lower back means you should stop. If you feel mostly hip flexors or strain behind the neck, your form needs adjustment.
If you feel it in your neck, lower your range of motion and focus on lifting your shoulders instead of your head. If you feel it in your lower back, slow down and tighten your abs before lifting. Quality reps matter more than height.
Alternative Names
Overhead Arm Crunch, O-Arm Crunch
Variations
Easier
- Small Range O-Raises, lift only a few inches off the floor
- Hands-to-Thighs Crunch, slide hands toward thighs instead of overhead
Harder
- O-Raises with Straight Legs, extend legs while keeping heels lightly grounded
- Slow Tempo O-Raises, take 3 seconds up and 3 seconds down
Sample Workout
Beginner Core Workout Example:
- O-Raises Feet on Ground, 3 sets of 10 to 15 reps
- Dead Bug, 3 sets of 8 reps per side
- Glute Bridge Hold, 3 sets of 20 to 30 seconds
Rest 30 to 45 seconds between sets. Focus on slow, controlled movement rather than speed.
Progression Plan
Week 1: Perform 3 sets of 8 to 12 reps. Focus on learning the movement, smooth arm circles, and proper breathing. Rest 45 seconds between sets.
Week 2: Increase to 3 sets of 12 to 15 reps. Slow down the lowering phase to improve control. Rest 30 to 40 seconds.
Week 3: Keep reps the same but add a 2 second pause at the top of each rep. Focus on strong abdominal bracing.
If form breaks down, repeat the current week until reps feel controlled. Once you can complete all reps without neck or lower back strain, try an advanced variation like slow tempo O-raises.
FAQ
How to do O-raises correctly?
Lie on your back with feet flat, circle arms overhead, and lift your upper body using your abs while exhaling.
Are O-raises good for beginners?
Yes, this is a beginner-level abs exercise that teaches proper crunch technique.
How many reps should I do?
Start with 8 to 12 reps and increase as your control improves.
Can I do this every day?
You can, but rest days help muscles recover and grow stronger.
Summary
O-raises with feet on the ground are a simple but effective way to build core strength and learn proper crunch mechanics. By combining controlled arm movement with a focused upper body lift, this exercise helps you connect your breathing, posture, and abs.
Stay patient, move slowly, and prioritize good form over high reps. When done consistently, O-raises can become a strong foundation for more advanced abs exercises and a healthier, more stable core.
Get Defined Abs in 30 Days
This exercise is part of our complete 30-day ab program. Download the app for structured daily workouts and track your progress.